
Labels are a lightweight way to group content in Genia. You can attach labels to pages, sections, and media so busy workspaces stay searchable.
What is a label?
A label is a color-coded marker you can assign to any item in a workspace. Labels make it simple to filter deliverables by status, owner, or campaign.
With labels, you can:
- Organize content by client, sprint, or handoff state.
- Filter lists to share just the items your stakeholders need.
- Update or retire labels with an inline, Notion-style menu.
Create a label
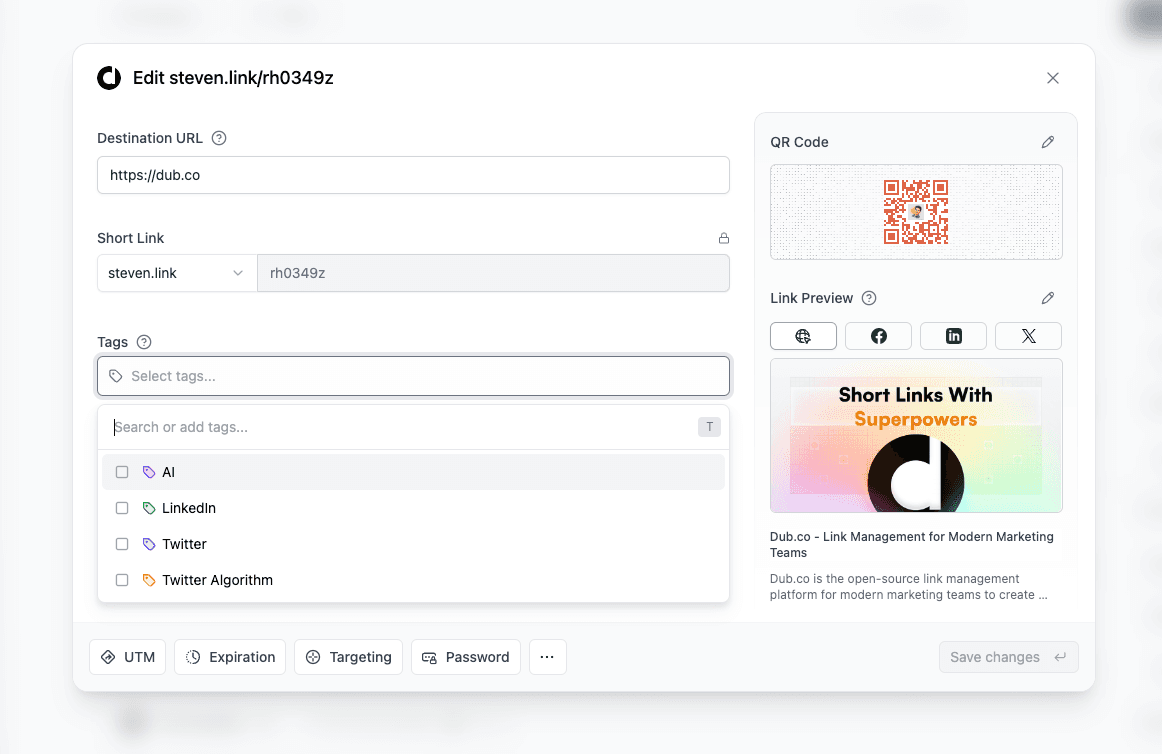
Open any page or asset drawer, click the label field, and type the name you want to use.
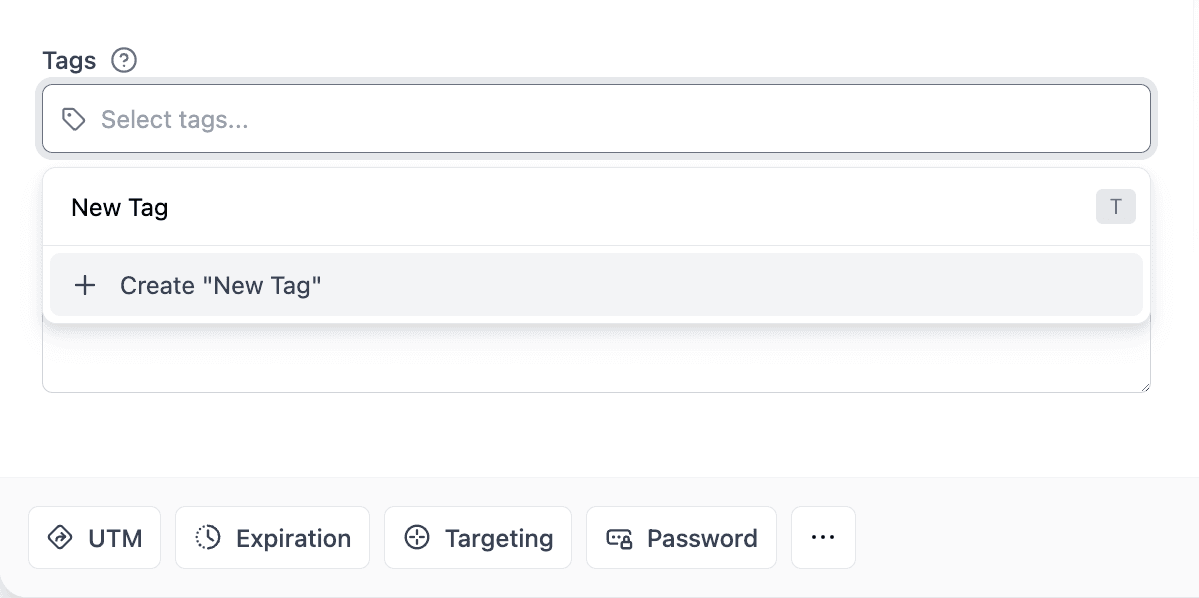
If the label already exists you can select it. Otherwise press Enter ↩ to create a new one and Genia will suggest a color automatically.
Edit or delete a label
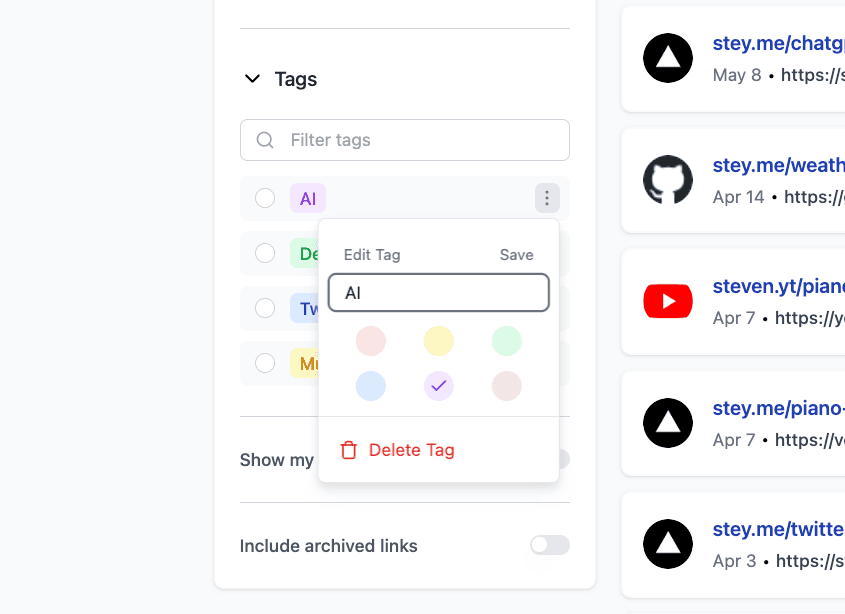
Labels live in the workspace sidebar. Hover over any label to reveal the ⋮ menu—rename it, switch colors, or remove it entirely. Changes apply everywhere the label is used.
Assign multiple labels
You can add up to three labels per item today. Need more? Let us know in the in-app feedback panel—we’re collecting votes for unlimited labels.
Label limits
Label capacity depends on your plan:
- Starter: Up to 10 active labels per workspace
- Growth: Unlimited labels, plus label-based automations
- Scale: Unlimited labels with access control and audit history
Want automations or shared label presets across clients? Reach out to the Genia team—we’d love to hear how you’re organizing your work.